How to Make Slime at Home
Slime has taken the children’s world by storm, quickly becoming the latest trend in fun and creative playtime. This gloopy, stretchy concoction is a twist on the classic playdough, but what makes it even better is that you can easily whip it up at home with a few simple ingredients. Whether your little ones are looking for a new activity during the holidays or just fancy some messy fun, making slime at home is the perfect go-to for children’s summer crafts. In this article, Poundland will guide parents through the process with step-by-step instructions, ensuring that your kids can enjoy the slimy sensation right in your kitchen.
The Foolproof Recipe for Making Slime at Home
If you're wondering how to make slime at home, you're in the right place! This foolproof recipe is all you need to create the perfect gooey masterpiece with your kids. Making slime at home is super easy when you've got the right ingredients and a clear guide to follow. The recipe we’re about to show you is designed to make a small-medium ball of slime, just the right amount for some hands-on fun without too much mess. Whether it's your first time diving into homemade slime or you're a seasoned pro, this step-by-step guide will ensure that your slime turns out perfectly every time!
What You’ll Need to Make Slime at Home
To make slime at home, you'll need a few simple ingredients that you might already have in your cupboard. First off, grab some PVA glue – this is the main ingredient that gives slime its sticky, stretchy texture. Next, you'll need bicarbonate of soda, which helps to thicken the mixture. And don’t forget the secret ingredient, contact lens solution containing boric acid, as this is what transforms the goo into slime! If your kids want to add a bit of sparkle or colour to their creation, make sure to have some glitter and food colouring or acrylic paint on hand. These extra touches will make your homemade slime truly shine and stand out!
Step 1) Combine the Glue & Bicarbonate of Soda
The first step in the recipe for making slime at home is to grab a bowl and pour in about 100ml of PVA glue. This is the base that gives your slime its signature stretch. Next, add half a tablespoon of bicarbonate of soda, which is essential for thickening the mixture. Once both ingredients are in the bowl, give them a good stir until they're well combined. Make sure you're using a sturdy bowl like this PEPCO White Plastic Bowl (3L) from Poundland, perfect for all your slime-making needs!
Step 2) Colouring Your Slime
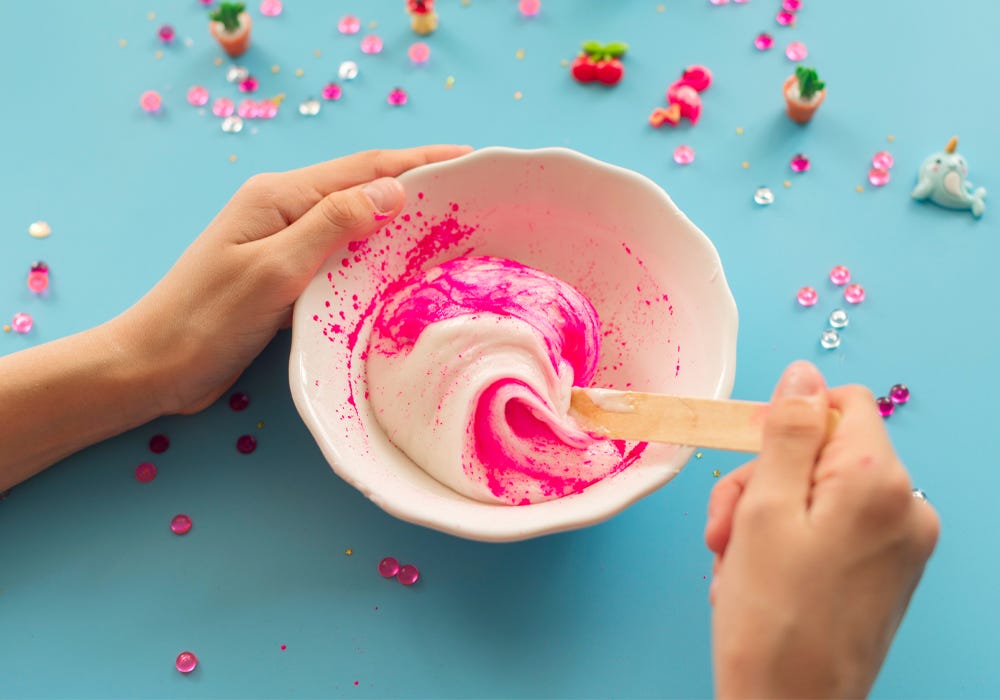
Now that your base is ready, it’s time to add some colour to your slime! This step in your home slime recipe is where the fun begins. You can use either food colouring or acrylic paint to give your slime that vibrant pop of colour. Just add a few drops of your chosen colour to the mixture and stir it in well until the colour is evenly distributed. Whether you go for a bold, bright hue or a subtle pastel shade, this is where your slime starts to take on its unique personality. Get creative and have fun with it!
Step 3) Add in the Slime Activator
The next crucial step in your slime-making adventure is to add the “slime activator,” also known as contact lens solution. This is the magic ingredient that will bring your slime to life, making it go from a gooey mixture to a fun, stretchy creation. Start by adding 1 teaspoon of contact lens solution to the bowl and give it a good stir. As you mix, you’ll notice the slime starting to come together and become stringy. If it’s still too sticky, don’t worry - just add a bit more solution until it reaches the perfect consistency. This activator for slime at home is what makes the slime transform, so take your time and watch it gradually mould into that ideal stretchy, squishy texture!
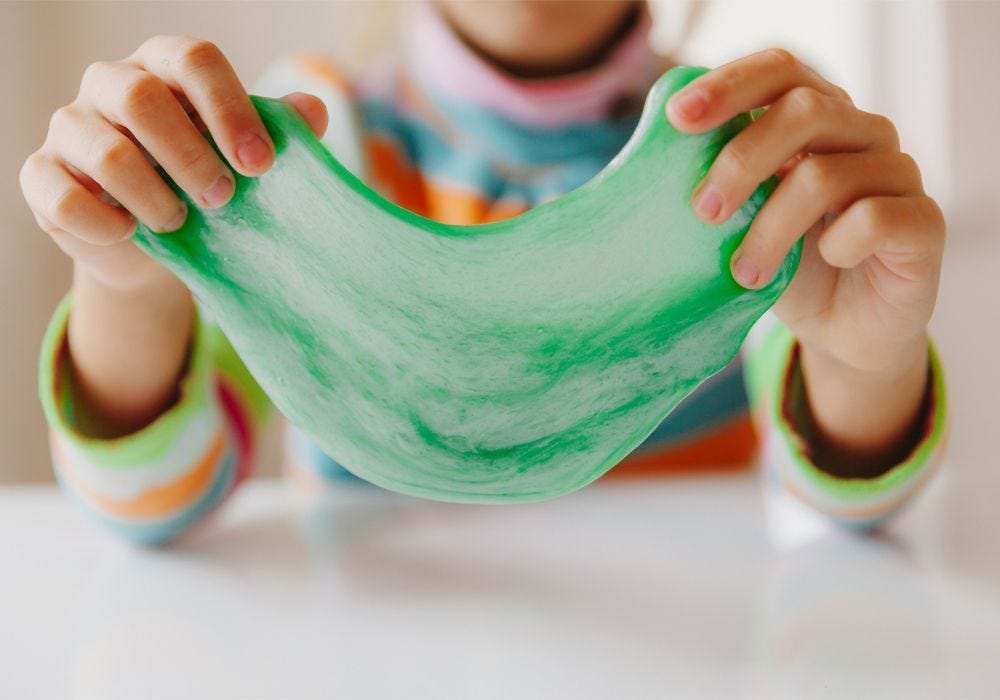
Step 4) Knead & Add the Glitter (If Desired)
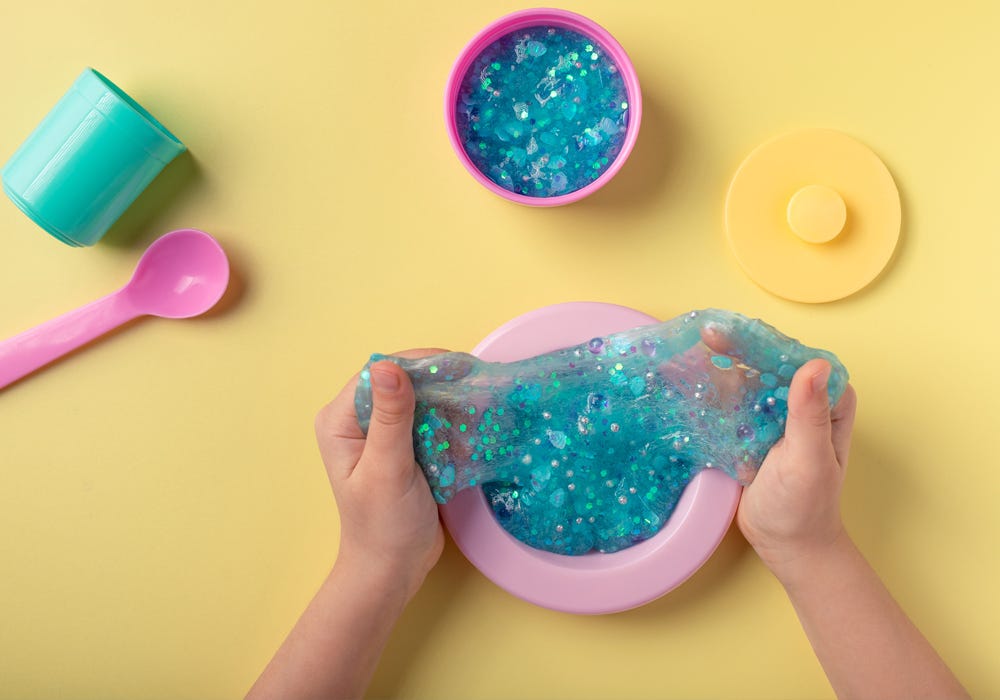
Once your slime has started to form and is no longer just a sticky mess, it’s time to get hands-on! Take the slime out of the bowl and start kneading it. This step is essential to get the perfect stretchy consistency and to make sure it’s not sticky anymore. As you knead, you’ll feel it becoming smoother and more elastic. If your kids want to add a bit of sparkle, now’s the perfect time to fold in some glitter. Just sprinkle it on and keep kneading until the glitter is evenly distributed. This final touch will make your homemade slime extra special!
For Fluffier Slime, Include Shaving Foam
If you’re after a fluffier texture for your slime, a simple trick is to add a dollop of shaving foam to the mix. Just a small squirt of shaving foam will give your slime a light, airy feel, making it even more fun to stretch and play with. Not only does it add volume, but it also gives the slime a softer, squishier texture that kids love. For the best results, try using Insignia Shaving Foam (300ml) from Poundland - it’s perfect for achieving that fluffy slime effect. Mix it in well, and watch your slime transform into a puffy, cloud-like creation!
Making Slime at Home
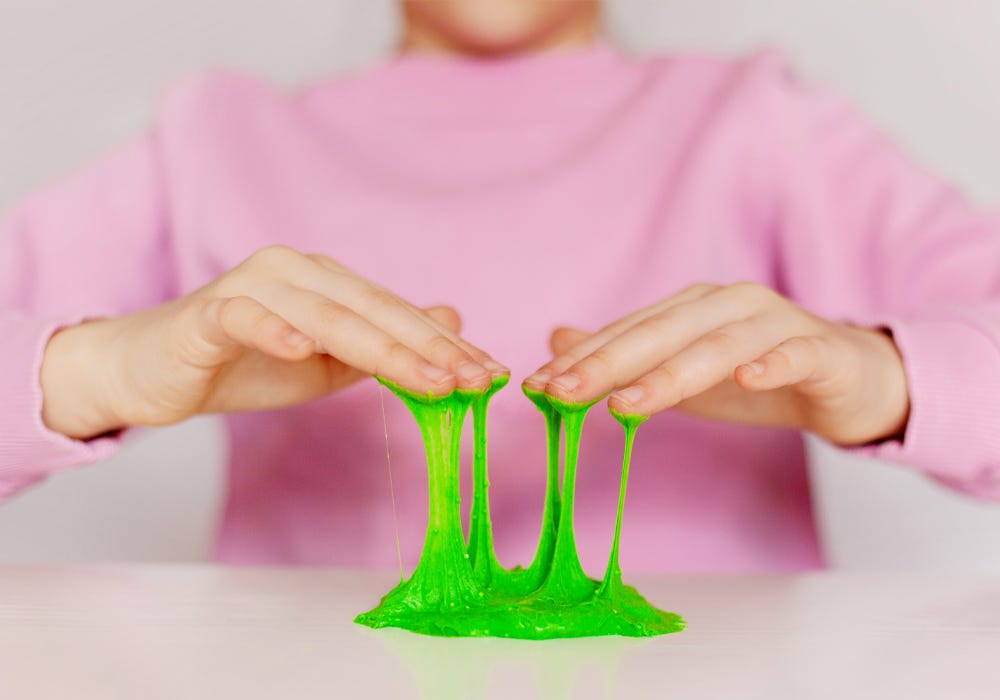
And there you have it - everything you need to know about making slime at home! With just a few simple ingredients and a bit of creativity, your kids can enjoy hours of slimy fun. Whether you’re crafting a basic stretchy slime or going all out with glitter and shaving foam for extra fluffiness, the possibilities are endless.
Ready to get started? Check out Poundland’s Galactic Slime Set and explore even more fun toys and crafts in our kids’ section, available online and in your local store, to keep the creativity flowing!