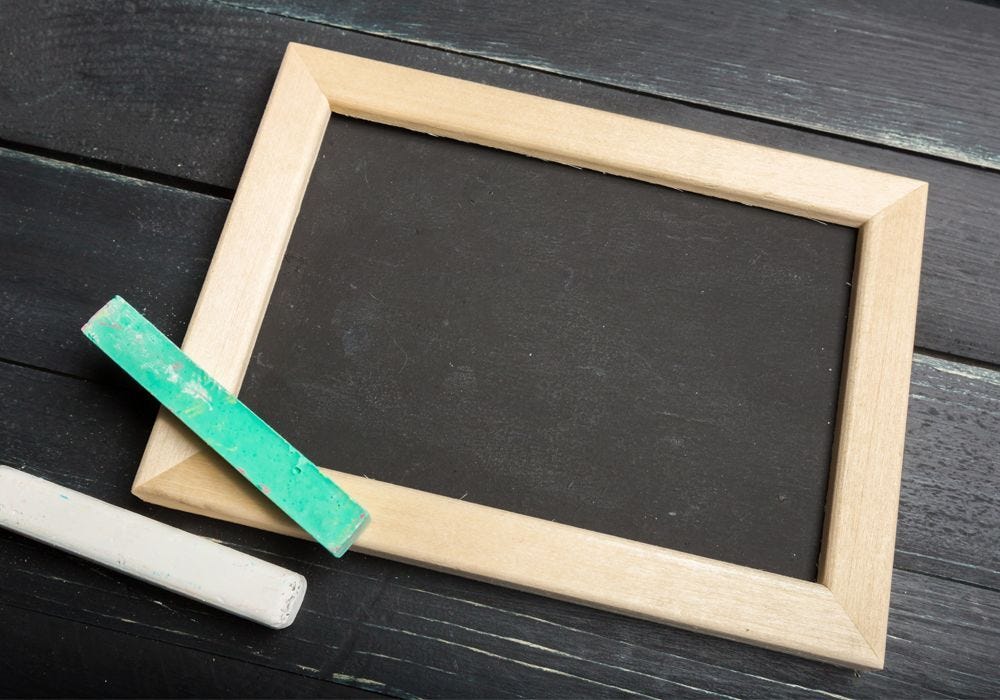
How to Make a Chalkboard
Ever thought about jazzing up your kitchen or keeping the kids entertained with a DIY chalkboard? Look no further than this cracking guide! A DIY chalkboard is more than just a bit of fun; it's a practical way to jot down family plans or let the little ones unleash their creativity. With Poundland’s nifty step-by-step instructions, crafting your own DIY chalkboard frame has never been simpler. Whether you’re a seasoned DIY whiz or a complete beginner, we’ve got you covered with everything you need to know about creating your very own chalkboard masterpiece. So, grab your tools and let’s get started!
What You’ll Need to Make a DIY Chalkboard
To get cracking on your kids' chalkboard project, you’ll need a few bits and bobs to make it a breeze. First up, grab yourself a sturdy photo frame like the PEP&CO White 30 x 40cm Frame or the rustic PEP&CO A4 Brown Wood Effect Frame, which are perfect for this DIY adventure. You can also check out the sleek PEP&CO A4 Silver Photo Frame for a touch of elegance if this is more your style. These frames will form the base of your chalkboard, so make sure to pick one that suits your home decor.
Next on the list is chalkboard paint, essential for transforming your photo frame into a scribble-friendly surface. And don’t forget your protective equipment like gloves, a dustsheet, and a mask to keep things tidy and safe. You can swing by Poundland's DIY aisle in your local store to snag these essentials or pop into any DIY and Home Project store for wallet-friendly alternatives. Ready to unleash your creativity? Let’s get chalkin’!
How to Make a Chalkboard
Let’s dive into the nitty-gritty of how to make a chalkboard at home! Once you’ve gathered your DIY supplies from Poundland, you’re ready to roll. Find yourself a well-ventilated spot, preferably outdoors in the garden, or a spacious room with lots of open windows, because we’re about to get spraying! At Poundland, we always recommend wearing a mask and goggles, too, just to play it safe and avoid any DIY mishaps. After all, it’s always best to be safe than sorry! Now, onto the fun stuff! Get your photo frames and paint at the ready and prepare to transform them into your very own chalkboard masterpiece!
Step 1) Prepare Your Photo Frame
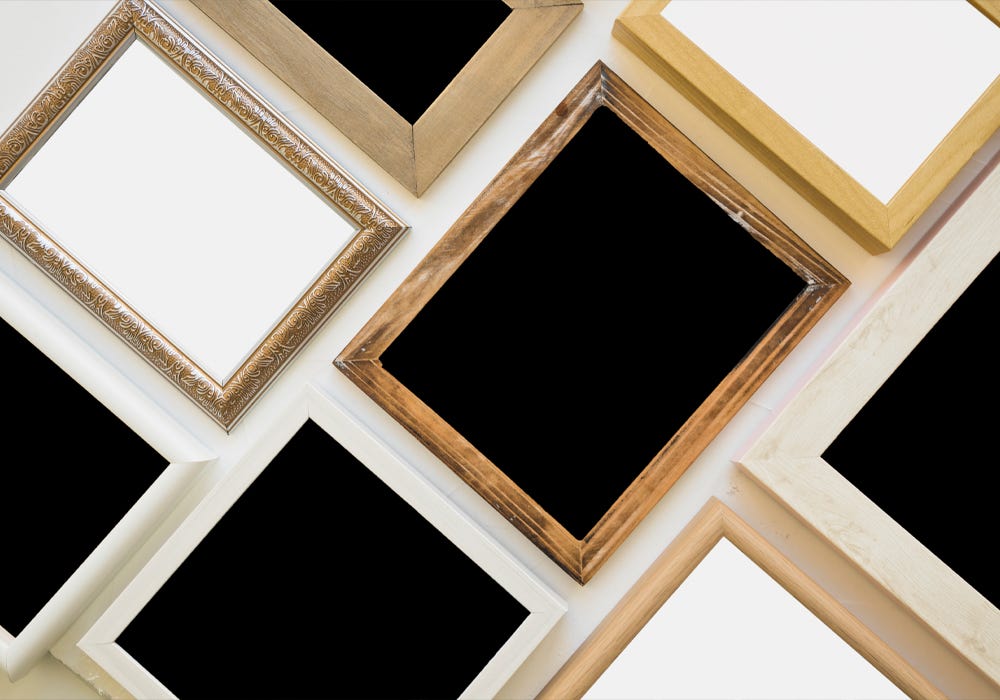
First things first, let's get your photo frame ready for its chalkboard makeover! Start by dismantling your chosen photo frame - whether it’s the stylish PEP&CO White 30 x 40cm Frame, the rustic PEP&CO A4 Brown Wood Effect Frame, or the elegant PEP&CO A4 Silver Photo Frame. Carefully remove the paper backing and glass, and be sure to dispose of these safely to avoid any accidents. Safety is crucial, so make sure you’re wearing gloves to protect your hands from any sharp edges. This prep step is vital for all your upcoming chalkboard ideas, ensuring a smooth and safe start to your DIY project!
Step 2) Spraying Your Chalkboard Paint
Now that your photo frame is prepped, it's time to spray the chalkboard paint onto the cardboard backing of the photo frame. This is where the magic happens to create your mini chalkboard! Start by shaking your can of chalkboard paint well, then apply the first coat evenly across the surface. Patience is key here! Let that coat dry thoroughly before moving on to the next one. You'll likely need a few coats to get a nice, smooth finish, which not only looks great but also makes the chalk stand out better when you use it. Remember, it’s all about layering up the paint, so take your time and ensure each layer is completely dry before applying the next.
This step is crucial for achieving a high-quality, durable chalkboard that’s perfect for all your notes and doodles!
Step 3) It’s Time to Get Creative
You've done the hard work, and now it’s time for the fun part - getting creative! The final step is to reassemble your photo frame, but this time, leave out the glass. Just pop the freshly painted cardboard backing into the frame, secure it, and voilà - you've got yourself your very own custom chalkboard! It’s perfect for jotting down reminders, doodling, or letting the kids go wild with their mini chalkboard masterpieces. So, grab some chalk and start making your space a little more creative and organised!
Chalkboard Accessories to Help Your Creativity Come to Life
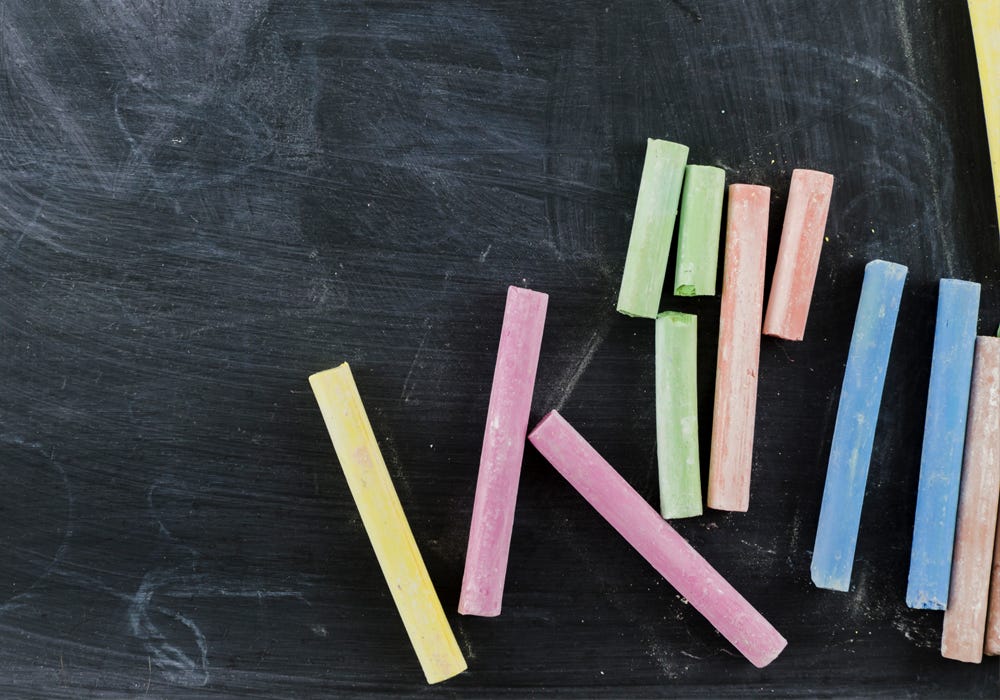
Now that your DIY chalkboard is ready, it’s time to bring your creativity to life with some fun accessories! Check out Poundland’s pack of 15 Jumbo Chalks for a vibrant array of colours that will make your chalkboard creations pop. Whether you're drawing, writing reminders, or letting the kids express their artistic side, these colourful chalks are perfect. Just remember, with kids around, a bit of adult supervision is always a good idea to ensure everyone’s having fun safely. Get ready to unleash your inner artist and make the most out of your new chalkboard!
Making Your Very Own Chalkboard
And there you have it - making your very own chalkboard is a breeze with our simple steps! From prepping your photo frame to spraying on that perfect coat of chalkboard paint, you’re all set to enjoy your DIY masterpiece.
Ready to start making your own? Visit Poundland’s DIY range, available online and in-store, for even more essentials and inspiration. Whether you're creating a mini chalkboard for the kids or a stylish noteboard for the kitchen, Poundland has everything you need to get creative. So, roll up your sleeves and dive into your next DIY adventure today!