How To Give Yourself a Salon-Worthy Manicure at Home
Are you ready to elevate your self-care game without breaking the bank? Get ready to say goodbye to those pricey salon visits and hello to salon-worthy nails right in the comfort of your own home!
In this article, we're spilling the tea on how to master the art of the manicure at home. Yep, you heard it right – we're diving deep into the world of DIY nail pampering! So, grab your favourite Poundland essentials because we've got everything you need to nail those manicure steps like a pro. From prepping to polishing, we'll guide you through each step to ensure your nails are on fleek every time. Let's get ready to flaunt those flawless nails without breaking the bank!
First, Prep Your Nails
Let's kick off this at-home manicure journey with the crucial first step: prepping your nails to perfection! If you're aiming for salon-worthy results without the salon price tag, nailing this step is key. Trust us, it sets the foundation for a flawless finish! So, grab your essentials from Poundland and let's dive into this manicure step by step.
- Step 1) Remove the Existing Nail Polish (if Necessary)
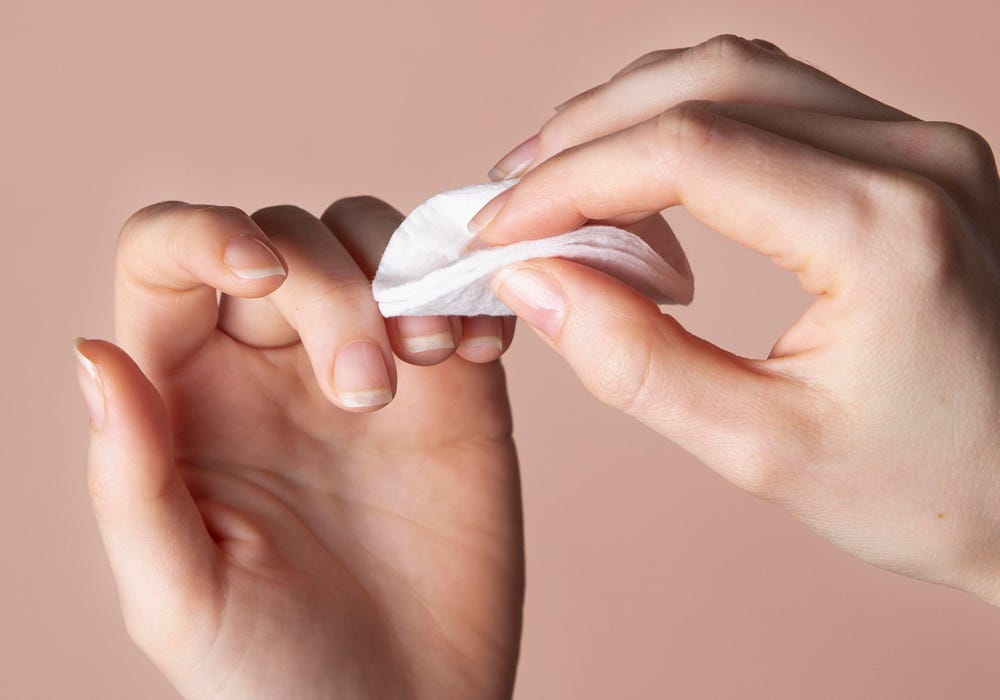
It’s time to start with step one of our how-to-do-manicure-at-home guide: remove the existing nail polish from an old manicure. Before we can start prepping your nails for a fresh coat of fabulousness, we've got to bid adieu to any old polish hanging around. Whether you're rocking regular polish or gel nails, Poundland's got you covered with our Classics Artificial Nail Tip Remover and Gel Nail Polish Remover. These gems will make quick work of stripping away any stubborn polish, leaving your nails ready for their beginner-friendly makeover. So, grab your remover of choice and let's get those nails prepped to perfection!
- Step 2) Trim & File Your Nails to Your Desired Shape
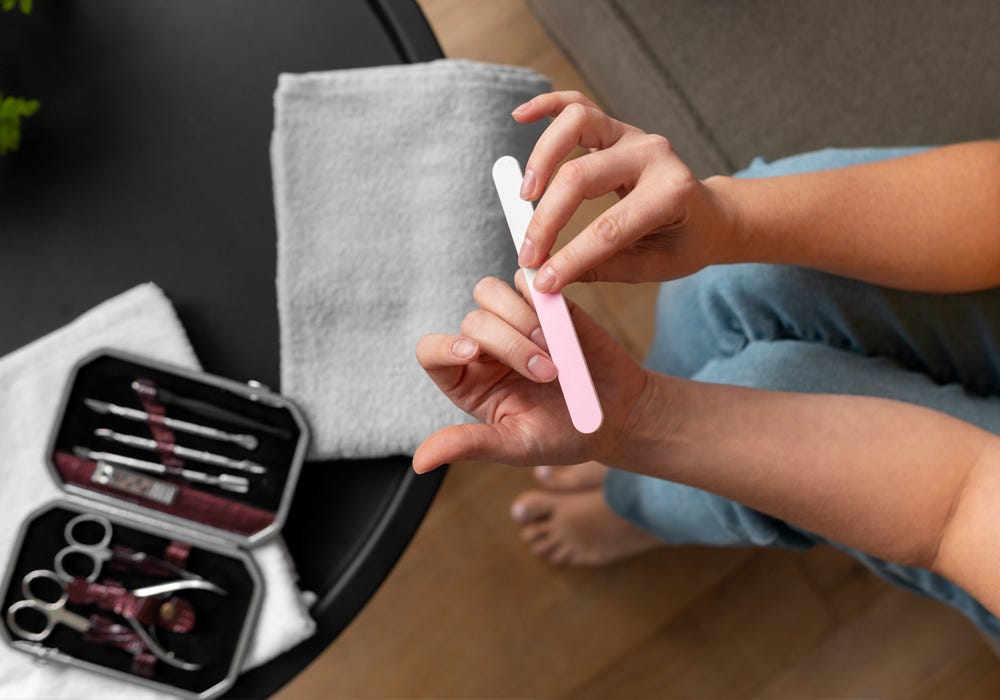
Trimming and filing your nails into shape is where the magic happens! Once you've removed any old nail polish, it's time to shape them. Whether you're into the classic square look or prefer something trendier like almond or coffin-shaped nails, Poundland's got you covered with their Make Up Gallery Shape It Out Nail Clippers to help aid this process! Simply clip away any excess length, then grab your trusty nail file to refine those edges. Nail shaping is an art, and with a little practice, even nails for beginners can achieve salon-worthy results. So, go ahead, unleash your inner nail artist, and sculpt nails into the shape of your dreams!
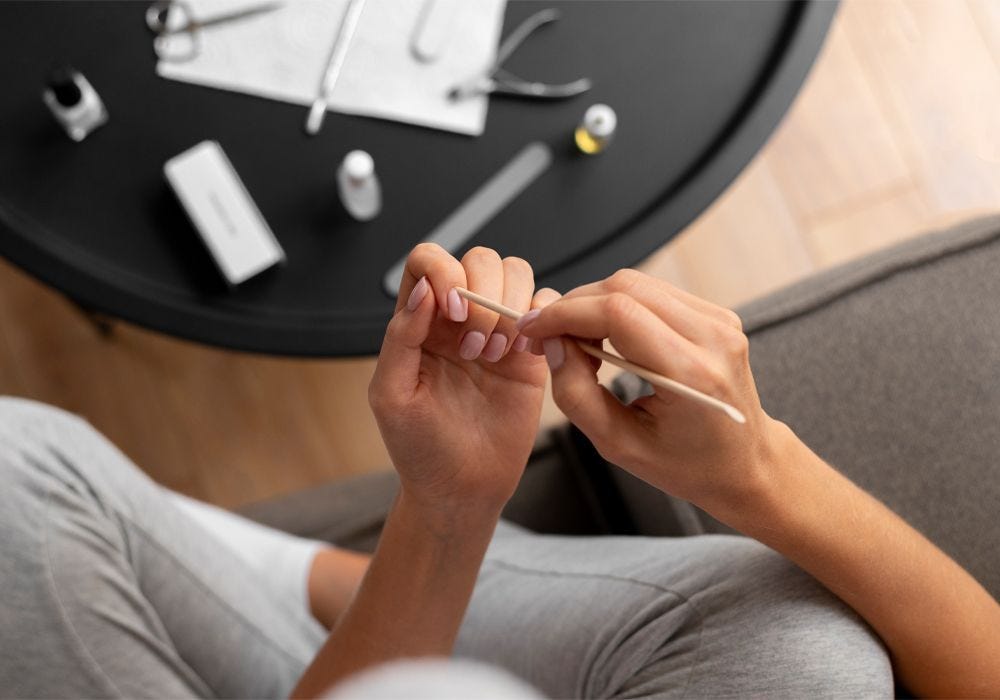
- Step 3) Push Back Your Cuticles
While pushing back your cuticles is an optional step in this process, it's a game-changer for achieving that salon-worthy finish. By gently pushing back your cuticles, you create a clean canvas for your polish to shine. And here's a pro tip: Poundland's Make Up Gallery Cuticle Oil is your secret weapon for making this step a breeze. Just a dab of this magical elixir and those cuticles will soften right up, making it a cinch to push them back without any discomfort. So, if you're aiming for a flawless DIY manicure, don't skip this crucial step! Your nails will thank you later for the extra TLC.
- Step 4) Buff Your Nails
Buffing your nails is the cherry on top for achieving that picture-perfect polish application. Lightly buffing your nails not only smooths out any imperfections but also creates a better surface for the polish to adhere to, ensuring it stays put for longer.
Now, let's keep it real – if you're not feeling the buffing vibes, no worries! It's not a make-or-break step, but if you're aiming for that next-level manicure do it yourself game, it's worth giving it a go. And guess what? Poundland's got your back with their nail buffers available in-store, so you can snag one on your next shopping trip. So, go ahead, buff it out, and get ready to slay those DIY nails like a pro!
It's Time to Start Applying the Nail Polishes
After all the prep-work in the earlier steps is complete, from removing old polish to shaping and buffing those nails to perfection, now's the moment we've all been waiting for - the fun part! Whether you're going for a classic nude, a bold red, or something sparkly, Poundland's got a rainbow of nail polishes to suit every style and mood. So, grab your favourite shades and let's get ready to paint the town (or at least your nails)!
- Step 5) Apply the Base Coat
Now, listen up, because this step might just be the secret to a long-lasting manicure. While applying a base coat is optional, trust us, it's worth considering if you want your nail art to stay put for longer. Poundland's Make Up Gallery Ridge Filler Base Coat is here to save the day, creating a smooth canvas for your polish to adhere to. So, if you're serious about doing nail art at home and want those vibrant colours to pop and last, don't skip this step! Your nails will thank you later for the extra TLC.
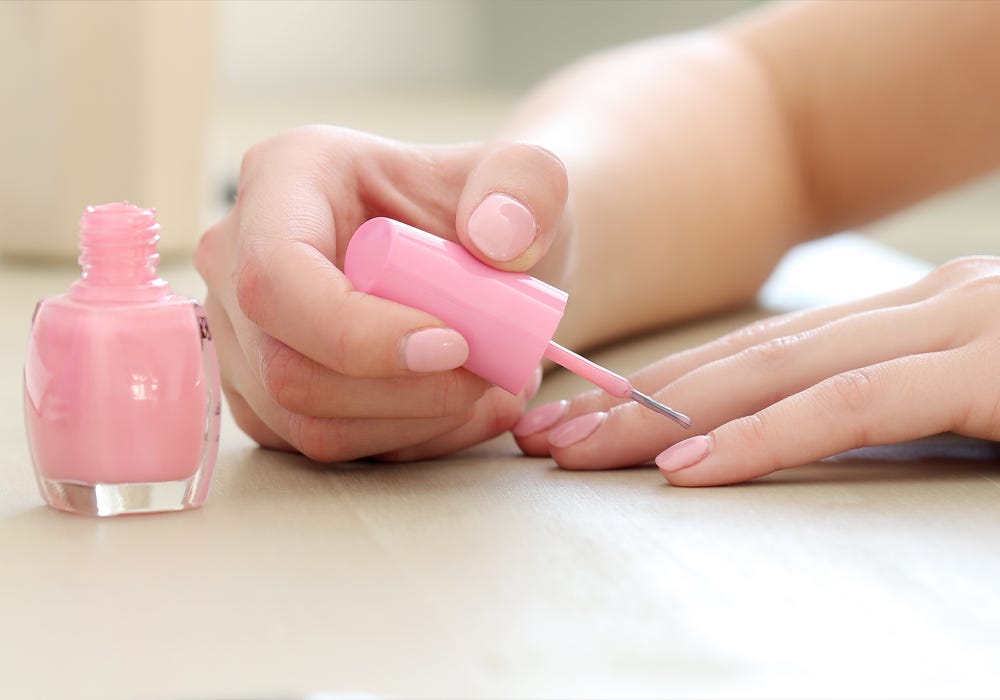
- Step 6) Nail Polish
It's finally time to jazz up those nails with Step 6 of our DIY manicure and pedicure at home guide. Apply two thin coats of your chosen nail polish colour, taking your time to ensure a neat and even application. And hey, if you accidentally colour outside the lines, no worries! Poundland's got your back with their eco-friendly bamboo cotton buds, perfect for tidying up any stray polish.
Looking for some party-perfect shades? Check out Poundland's Make Up Gallery nail polishes in shades Vintage Pink and Silver Treasure for some serious sparkle and shine. Or if you're after that gel polish look without the hefty price tag, Make Up Gallery Gel Effect Nail Polish in Teal Bay is your go-to! So, whether you're painting your fingernails or your toes, get ready to flaunt those fabulous nails with confidence!
- Step 7) Secure with a Top Coat
You’re almost there in this manicure marathon! Applying two thin coats of top coat not only adds a glossy finish but also helps extend the life of your nail art. So, don't skip this crucial step! Whether you're doing nails at home for a special occasion or just to treat yourself, finishing off with a top coat is the cherry on top of your fabulous nail creation. Get ready to flaunt those flawless tips with confidence because your DIY mani is about to steal the show!
Top Tip: Reapply Your Top Coat Every 2-3 Days
Here's a top tip to keep your nails looking fresh for longer: reapply your top coat every two to three days! It's like giving your manicure a little refresh and helps to seal in that salon-worthy shine. Poundland's Make Up Gallery Clear Nail Polish is your go-to for topping up that glossy finish whenever you need it. Trust us, a little TLC goes a long way in nail care at home. So, whether you're slaying the week at work or dancing the night away, keep those nails looking on point with regular top coat touch-ups.
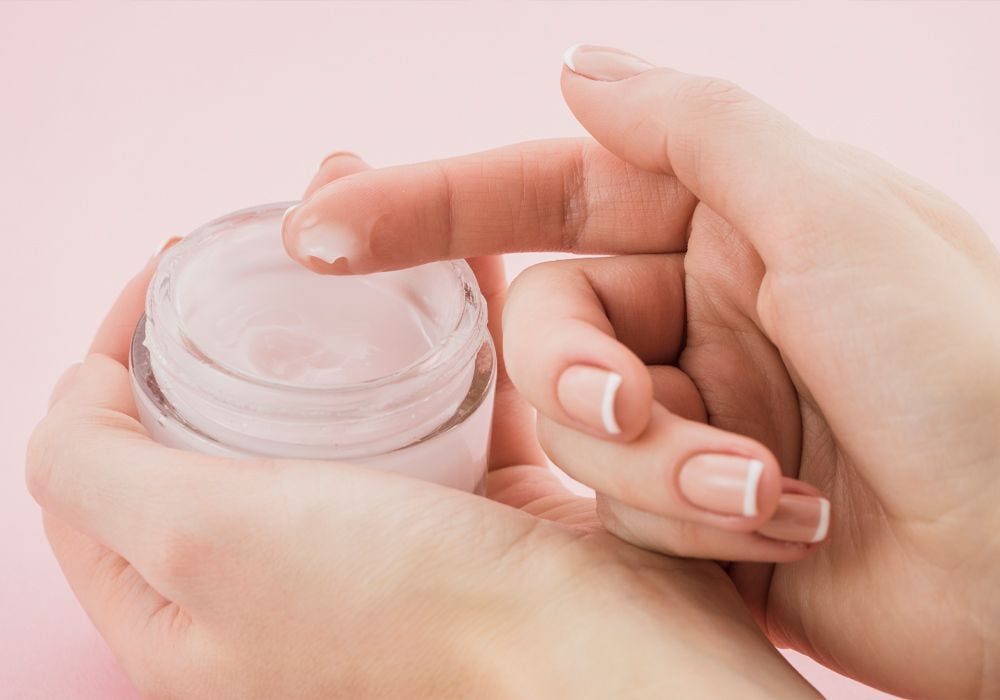
Finish with a Nourishing Hand Cream
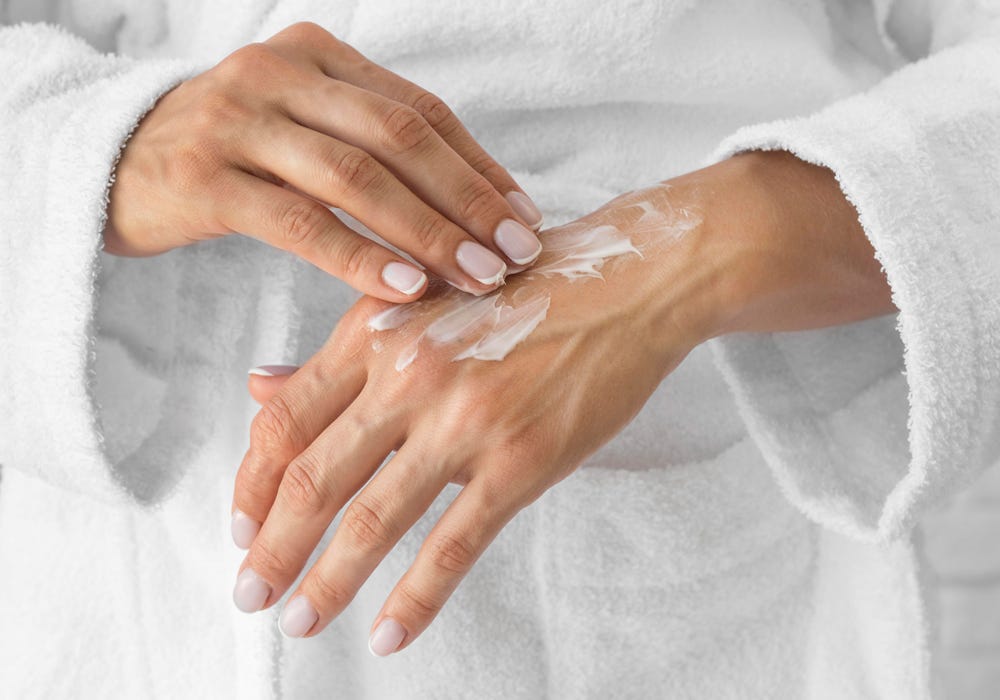
And voilà! As the final flourish to the best at-home manicure, indulge in a little luxury with a nourishing hand cream. Once your nails are dry and looking fabulous, massage your hands and nails with a rich, hydrating cream for that salon-worthy finish. Poundland's got your back with options like Cuticura Repair Hand & Nail Cream and Mio Palm Pro Hand Cream, leaving your hands feeling silky smooth and your nails looking oh-so-glamorous. This little touch of indulgence will have everyone thinking you've just stepped out of the salon! So, go ahead, pamper those hands and nails - you deserve it!
How to Apply Artificial Nails
Looking to up your nail game with a salon-worthy manicure from the comfort of your own home? Say hello to artificial nails! They're a fantastic alternative for achieving flawless nails without the fuss. Poundland's got an array of options, from Jess Wright Beauty Square Nails in Baby Talk or This Is Your Year to the Demi Jones False Coffin Nails in Island and Hottie, all available in packs of 24, so you can mix and match to your heart's content. Applying them is a breeze - just match the artificial nail to the size of your nail bed and secure them in place with the glue included in the kit. It's that simple! So, whether you're looking for a quick nail fix or want to switch up your look, artificial nails are your ticket to instant glamour!
Salon-Worthy DIY Manicures
And there you have it! Salon-worthy DIY manicures are now within your reach, thanks to our simple yet effective tips and tricks. From prepping and shaping to polishing and pampering, Poundland has everything you need to achieve flawless nails without breaking the bank. So why wait? Treat yourself to some self-care and unleash your inner nail artist today. Head over to Poundland's nail care section, available online and in-store, to stock up on all your manicure essentials. Get ready to slay those nails and flaunt your fabulous fingertips with confidence!